Rules for Fertilizing Plants with Mustard Oil Cake
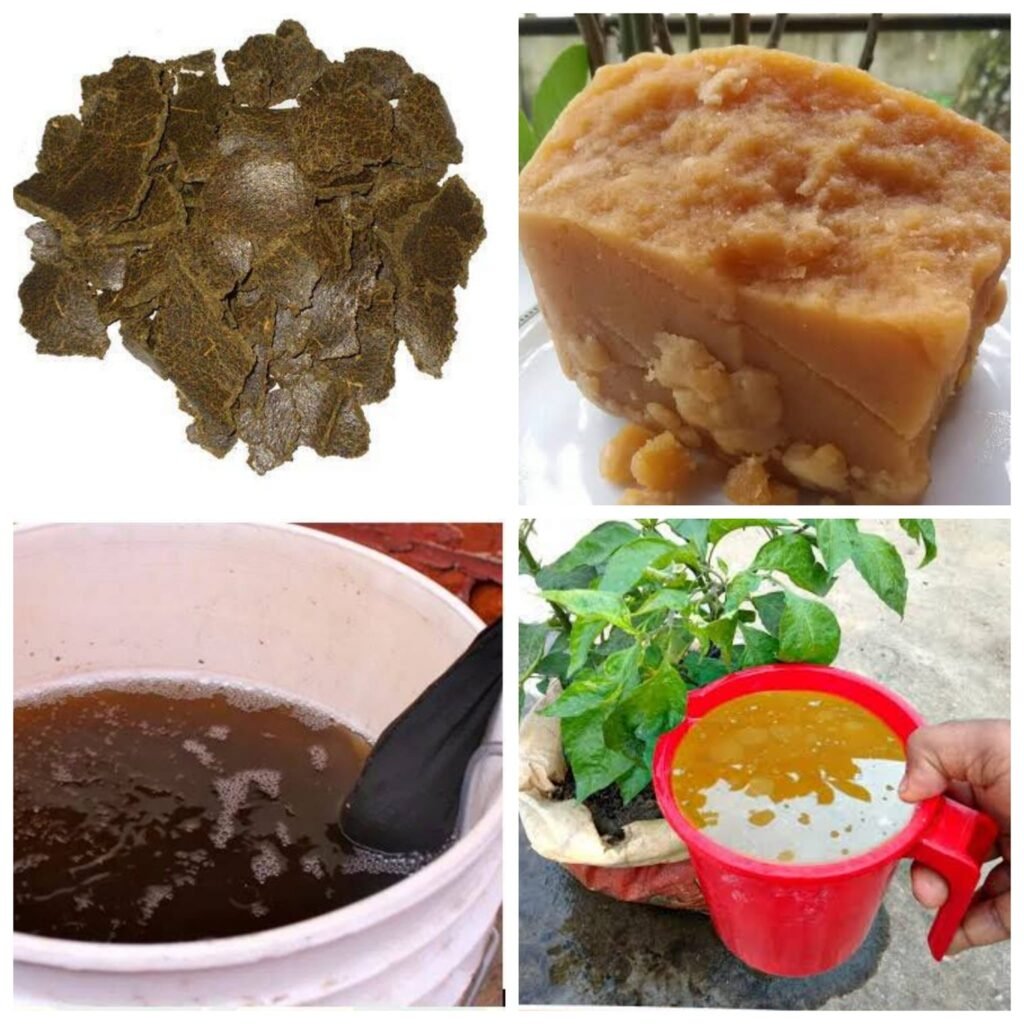
Mustard oil cake is an excellent organic fertilizer providing essential nutrients like nitrogen, potassium, and various macro and microelements. It promotes the healthy growth of flowers, fruits, and vegetable plants by acting as a natural food source for the soil.
Required Materials
- Fresh mustard oil cake: 100 grams
- Container with lid: 1.5 liters
- Clean water: 1 liter
- Raw jaggery: 2-3 teaspoons
- Wooden stick: For stirring
Preparation Method
- Mix Ingredients:
- Fill a 1.5-liter container with 1 liter of clean water.
- Add 100 grams of fresh mustard oil cake.
- Add 2-3 teaspoons of raw jaggery.
- Stir the mixture well with a wooden stick.
- Fermentation:
- Place the container in a slightly shaded area.
- Cover the container, allowing for air circulation.
- Stir the mixture daily with the wooden stick.
- Observation:
- Within a week, the water will turn a golden yellow color.
- The decomposed material will settle at the bottom of the container.
Method of Use
- Dilution:
- Before applying, mix the prepared fertilizer with 9 liters of water to dilute it.
- Application:
- For a half-drum tub, use 1 liter of the diluted fertilizer.
- For a small tub, use 0.5 liters of the diluted fertilizer.
- Apply the fertilizer every 15 days.
Important Considerations
- Quality of Mustard Oil Cake:
- Ensure the mustard oil cake (khair) is fresh. Fresh oil cake will have a distinct smell when brought close to the nose.
- Proper Dilution:
- Always dilute the fertilizer in a 1:9 ratio (fertilizer to water) before applying. Using undiluted fertilizer can harm the plants.
- Regular Application:
- If no other fertilizers are available, applying this fertilizer every 15 days can still benefit your plants significantly.
By following these rules, you can effectively use Horlix mustard oil cake to nourish your plants, ensuring they receive essential nutrients for optimal growth and health.
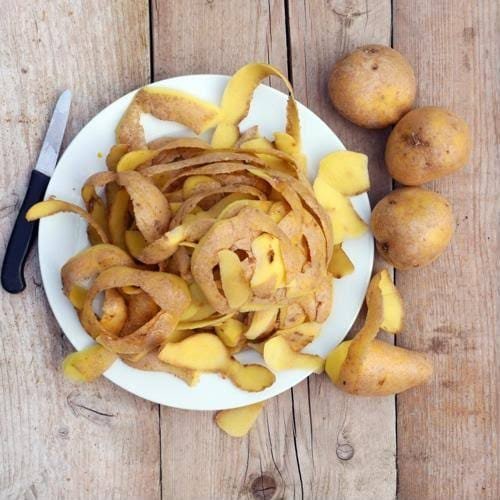
How to Make Organic Liquid Fertilizer from Potato Peels
Are you a roof gardener or an enthusiast of organic farming? This guide will walk you through a simple and cost-free method to create organic liquid fertilizer using potato peels. This approach not only helps in waste reduction but also enriches your soil, providing essential nutrients to your plants.
Benefits of Potato Peels
Potato peels are packed with nutrients beneficial for plant growth, including:
- Potassium
- Calcium
- Nitrogen
- Phosphorus
- Magnesium
These elements are crucial for plant health, aiding in processes such as root development, leaf growth, and overall plant vitality.
Fertilizer Preparation Method
- Materials Needed:
- Glass jar (preferably)
- 100-150 grams of potato peels
- 1 liter of water
- Steps:
- Fill the Jar: Place 100-150 grams of potato peels in the glass jar.
- Add Water: Pour 1 liter of water into the jar, fully submerging the potato peels.
- Seal and Store: Close the jar tightly and place it in a location away from direct sunlight.
- Fermentation Period: Allow the mixture to sit for three to four days. During this period, the nutrients from the potato peels will leach into the water, creating a nutrient-rich liquid fertilizer.
- Using the Fertilizer:
- After the fermentation period, the liquid is ready to use. Pour the liquid fertilizer directly at the base of your plants. This helps the roots absorb the nutrients effectively.
Additional Tips
- Potato Boiling Water: The water used to boil potatoes can also be utilized as a fertilizer, provided it does not contain salt. Salty water can harm your plants, so ensure the boiling process is salt-free.
Application Method
- Dosage: Depending on the size of the plant, apply 200-500 ml of the potato peel liquid fertilizer per plant.
- Frequency: Use this liquid fertilizer every 10-15 days.
- Timing: For best results, apply the fertilizer in the morning or afternoon, when the plants are most receptive.
By following these steps, you can create a potent and natural fertilizer that supports the growth and health of your plants, making your gardening efforts more sustainable and productive.
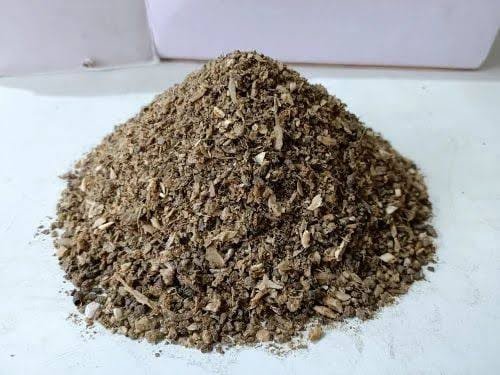
Importance and Benefits of Using Bone Meal in Soil
Bone meal is a natural and organic food ingredient for plants, derived from animal bones. It’s eco-friendly and safe, making it an excellent choice for gardeners looking to enhance soil fertility naturally. In this blog, we’ll explore the importance and benefits of using bone meal in your garden.
Importance of Using Bone Meal
Promotes Plant Growth and Photosynthesis
Bone meal helps plants grow properly by providing essential nutrients that support photosynthesis and overall plant health.
Supplies Calcium and Phosphorus
Bone meal enriches the soil with calcium and phosphorus, two critical nutrients. Calcium is vital for healthy cell formation and plays a role in maintaining other plant components, while phosphorus is crucial for energy transfer and photosynthesis.
Enhances Soil Fertility
Easily mixed into the soil, bone meal aids in the creation of food material for plants, promoting a nutrient-rich environment.
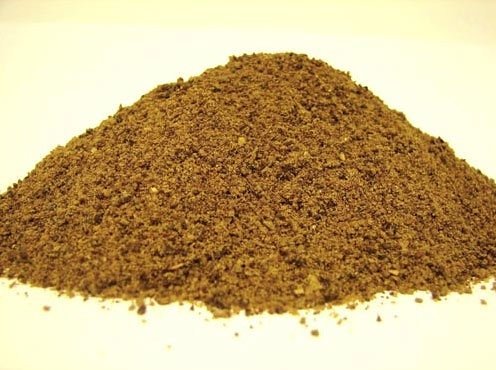
Benefits of Bone Meal
Excellent Nutrient Source
Bone meal is an excellent food material for plants, providing a steady supply of nutrients over time.
Slow Nutrient Release
Nutrients in bone meal are slowly released, allowing plants to absorb them gradually and preventing nutrient leaching.
Eco-Friendly
Being made from natural ingredients, bone meal is environmentally friendly and safe for garden ecosystems.
Enhances Plant Health
The use of bone meal results in stronger stems and darker green leaves due to improved nutrient availability.
Rich in Essential Elements
Bone meal is a rich source of calcium, nitrogen, and phosphorus. These elements are crucial for fast root growth, quicker plant maturity, and overall plant health.
Boosts Root Growth
Bone meal promotes faster root growth, which is essential for plant stability and nutrient uptake.
Provides Macro and Micronutrients
All essential macro and micronutrients that plants get from soil are easily obtained from bone meal, making it a comprehensive fertilizer.
Ideal for Long-Term Use in Tubs
Bone meal is particularly beneficial for plants kept in tubs for long periods, ensuring they receive a consistent supply of nutrients.
Caution: Balanced Use
While bone meal is highly beneficial, excessive application can inhibit plant growth by disrupting the balance of other essential nutrients. It’s best used in combination with other fertilizers to maintain a balanced nutrient profile for optimal plant health.
By integrating bone meal into your gardening routine, you can create a nutrient-rich environment that supports healthy and vigorous plant growth. Its natural, slow-release properties make it a valuable addition to any garden, whether in the ground or in containers.
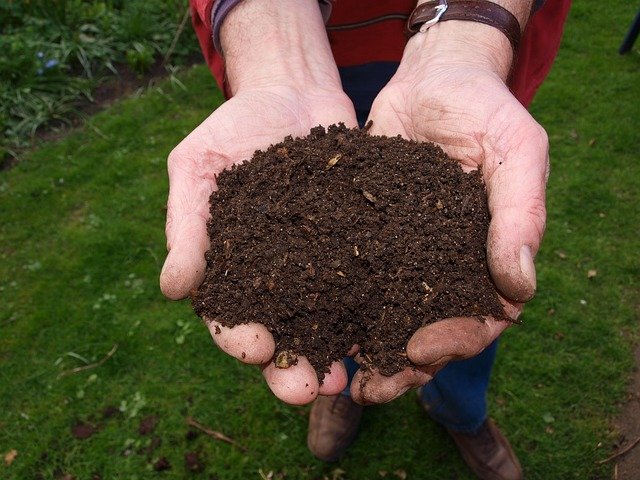
Method of Making Compost with Cow Dung
Cow dung compost is a highly valued organic fertilizer known for its ability to improve soil fertility. Here’s a step-by-step guide to making cow dung compost effectively:
Materials Needed:
- Fresh cow dung
- Cow urine (optional but beneficial)
- Water
- Composting bacteria culture or pure molasses
- Mustard/sesame/almond cake (optional)
- Saindhav salt
- Alum
- Lime
- Bamboo stick
- Straw (optional for covering)
- Sweet fruit enzyme (optional)
The Ultimate Guide to Starting Your Home Vegetable Garden: 7 Compelling Reasons to Begin Today
Steps for Growing Vegetable Seeds
Preparation Steps:
- Pile Formation:
- Create a pyramid-shaped pile of fresh cow dung with a width of 2-3 feet and a height of up to 2.5 feet in a shaded area.
- Aeration and Moistening:
- Use a bamboo stick to make holes about 1.5 feet deep throughout the pile.
- Pour cow urine, water, composting bacteria culture, or molasses into these holes to initiate the composting process.
- Ensure the pile remains moist at all times by adding water as necessary.
- Nutrient Addition:
- Optionally, enhance the compost by adding 4-5 kg of mustard/sesame/almond cake, 2-3 kg of Saindhav salt, 1-2 kg of alum, and 1 kg of lime per 100 kg of cow dung.
- Mix in any sweet fruit enzyme to speed up the composting process and improve the quality.
- Covering:
- Lightly cover the dung pile with straw to help retain moisture and protect it from direct sunlight.
- Turning the Pile:
- After 15 days, turn the pile with a spade to aerate it and mix the components thoroughly. Rebuild the pile in the same manner.
- Repeat the turning process every two weeks.
- Composting Duration:
- The compost should be ready in about 1.5 to 2 months under optimal conditions. If the process is delayed due to weather or other factors, it may take up to 3 months.
Quality and Benefits of Cold Process Compost:
- Organic Carbon: The compost made through this cold process retains up to 56% organic carbon.
- Beneficial Bacteria: The cold process ensures that beneficial bacteria remain alive in the compost.
- Soil Fertility: This compost is very effective in restoring and maintaining soil fertility.
Tips for Success:
- Keep Moist: Always keep the dung pile moist but not waterlogged.
- Regular Turning: Regularly turn the pile to aerate it and speed up the composting process.
- Shaded Area: Place the pile in a shaded area to prevent excessive drying from direct sunlight.
- Use of Additives: Using additives like mustard cake, lime, and molasses can enhance the nutrient content and quality of the compost.
By following these steps, you can produce high-quality cow dung compost that will enrich your soil and promote healthy plant growth. If you have cows at home, this is an excellent way to utilize the dung effectively and sustainably.
