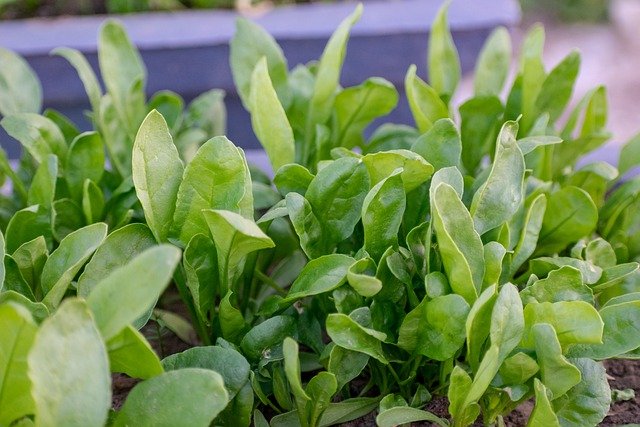
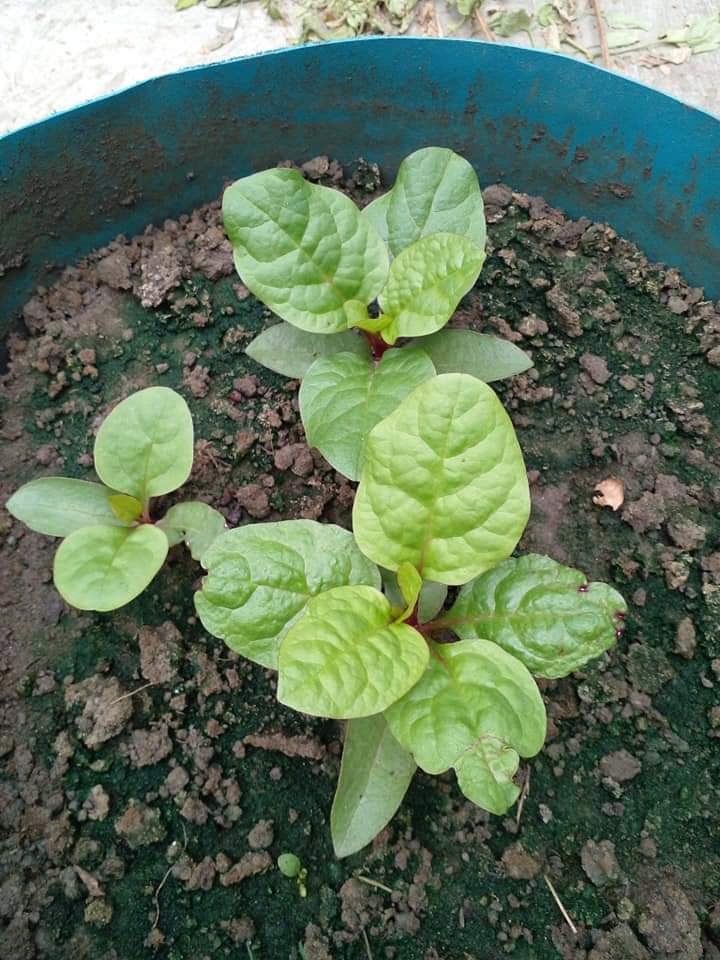
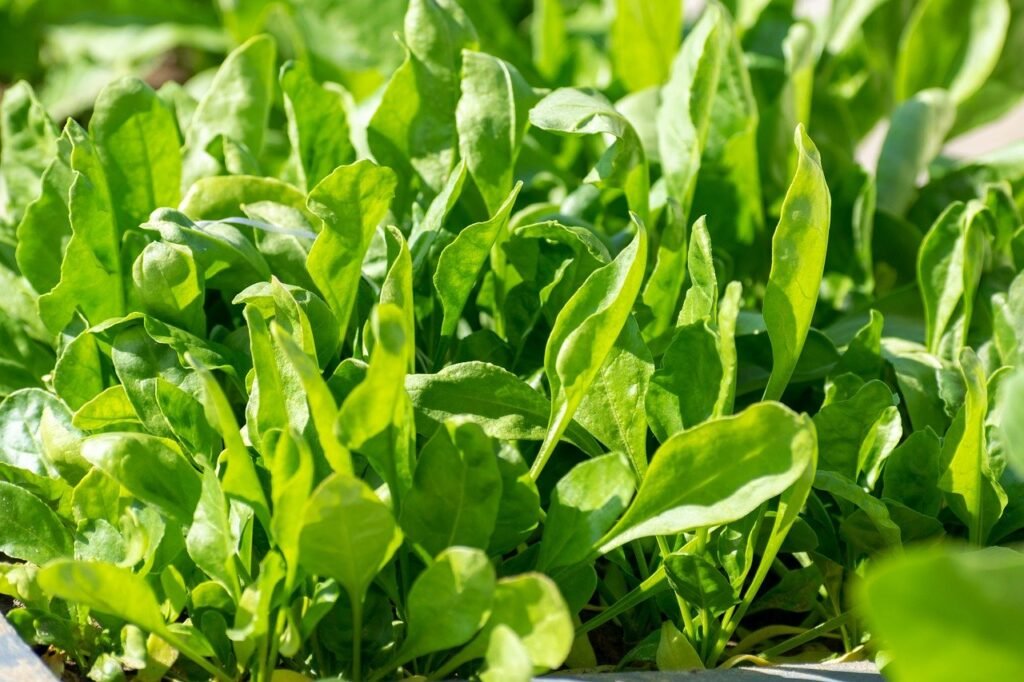
Growing spinach at home can be a rewarding experience, especially when done in a tub using natural methods without relying on chemical fertilizers and pesticides. In this comprehensive guide, we’ll delve into the intricacies of caring for spinach plants in tubs, discuss methods for farming spinach in tubs, soil preparation techniques, and plant care tips.
Tub Size
When embarking on spinach cultivation in tubs, it’s crucial to select the appropriate size for the tub. Opt for containers such as tubs, drums, or cement bags that can hold a minimum of 15 to 20 kg of soil. Vegetable seedlings can be directly sown in these tubs or grown from seeds.
Soil Preparation:
Proper soil preparation sets the foundation for successful spinach cultivation in tubs. Blend various ingredients meticulously to create a nutrient-rich soil mix. Combine loamy soil (50%), sand (5%), dry dung or leaf rot (40%), and ash (5%) to prepare the soil.
Consider the soil’s composition when preparing the mixture. Increase the amount of sand if the soil is clayey, while sandy loam soil may not require additional sand. Adhering to these guidelines ensures that chemical fertilizers can be avoided altogether.

Fertilization:
In addition to applying organic fertilizers during planting, regular fertilization is essential for optimal growth. Chemical fertilizers can be minimized in favor of organic alternatives. Incorporate organic fertilizer into the soil approximately 6 inches from the base of the plant.
Liquid fertilizer is particularly beneficial for tub-grown plants. Prepare liquid fertilizer by mixing 200 grams of mustard seeds or 500 grams of dry cow dung with 2 liters of water, letting it sit for two days before application. Administer the liquid fertilizer as needed, maintaining a distance of 6-8 inches from the plant’s base. Bi-monthly applications yield significant improvements in yield.

Disease Management:
Combat spinach plant diseases using organic pesticides, which pose no harm to humans. Boil neem leaves or extract juice from marigold leaves to create effective insecticides. Neem oil serves as a natural pest control solution as well.
Root rot is a common issue among spinach plants, mitigated by applying dry ash at the plant’s base to fend off fungal attacks. Placing dried neem leaves at the base of the plant serves as a preventative measure against various insects and spiders, contributing to overall plant health.
By adhering to these guidelines for growing spinach in tubs using natural methods, home gardeners can enjoy a bountiful harvest while minimizing environmental impact and chemical exposure.

How to Grow Malabar Spinach in Tubs
Malabar spinach is a popular vegetable known for its delicious taste and nutritional value. Cultivating Malabar spinach in tubs is a convenient way to enjoy this nutritious green without the use of chemical fertilizers, ensuring healthy and blemish-free leaves.
Varieties of Malabar Spinach:
Malabar spinach comes in two main varieties based on color: red and green.
Ideal Climate and Soil Conditions:
Malabar spinach thrives in tropical regions with hot and humid climates. It prefers sandy loam to silt loam soils with good drainage. While it can grow in various soil types, using loam, sandy loam, or clay soil in pot cultivation yields the best results.
Latest Post
- Simple Guide to Successful Rooftop and Small-Space Gardening
- “Preventing Blossom End Rot: Managing Calcium Deficiency in Tomatoes”
- Modern DIY Method of Economical Water Irrigation.
Chemical-Free Cultivation Method:
- Mix equal parts of loamy soil and rotted cow dung or compost for pot cultivation.
- Plant Malabar spinach seeds in a large tub or cement bag filled with the soil mixture. Treat the seeds with fungicides before planting. Alternatively, soak the seeds in water overnight before planting them.
- Avoid using chemical or artificial fertilizers. Instead, use liquid fertilizer made from mustard leaves every 15 days. Apply the fertilizer by making a hole 6 inches away from the base of the plant. Additionally, use compost prepared from rotting vegetable peels.
- Combat pests and fungal attacks naturally by boiling neem leaves and using the water as a pesticide. Sprinkle ash at the base of the plant to prevent fungal growth. Clear weeds regularly to promote healthy growth.
Maintenance and Harvesting:
Regularly clear weeds from the tub to prevent overcrowding. Ensure proper drainage to avoid waterlogging, which can lead to root rot. After rain, press the soil around the base of the plant to prevent soil erosion. When the seedlings reach a height of 25-30 cm, trim the stems to encourage bushier growth.

Harvesting Tips:
Harvest leaves that are free from chemical residues, blemishes, and are large in size for the best taste and quality. Enjoy fresh and nutritious Malabar spinach straight from your tub garden!
Cultivation method of red spinach in tub
Placement:
Select a location on your balcony or rooftop that receives ample sunlight and airflow. However, red spinach can thrive in partially shaded areas, although they may grow slightly shorter in height.
Tub:
Opt for plastic or wooden containers for growing red vegetables. A medium-sized tub or even a plastic bucket will suffice.
It’s possible to cultivate up to 200 plants in a medium-sized tub.
Soil Preparation:
Red spinach can be grown year-round in various soil types, but loamy and sandy loam soils are ideal. Ensure the soil is rich in organic matter by mixing one part soil with one part organic fertilizer. If the soil is dry, moisten it slightly with water.
Planting of Seeds:
Red spinach can be planted throughout the year, although the yield is higher in early winter.
Care:
For containers, consider preemptively making small drainage holes to prevent waterlogging.
After one week of seed germination, thin out the seedlings to 5 cm apart in each row. Remove any remaining weeds and break up any clumps in the soil. Irrigate as needed based on soil conditions.

Harvesting:
Red spinach can typically be harvested about one month after sowing. Begin by picking the slightly larger trees first, then continue harvesting every two to three days.
Final Thoughts:
Since this method involves tub cultivation, it reduces the risk of insect infestation and the need for treatments. However, keep in mind that this is not a commercial endeavor, so any issues may increase costs. If significant problems arise, starting a new cultivation cycle may be the best solution.

