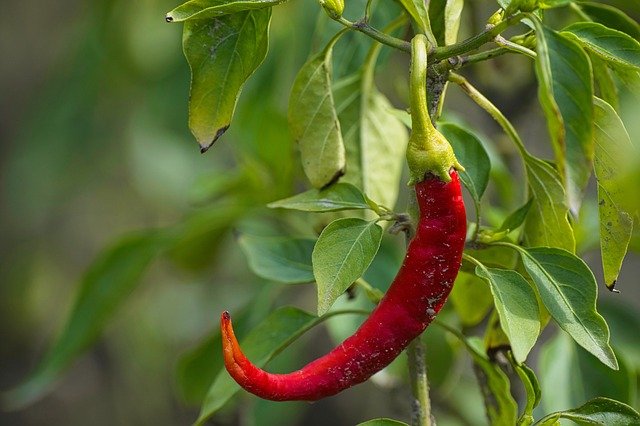
Chili is needed in daily cooking. The nutritional value and benefits of this food are many. So when chili is so important, it doesn’t hurt to have it on hand every day.
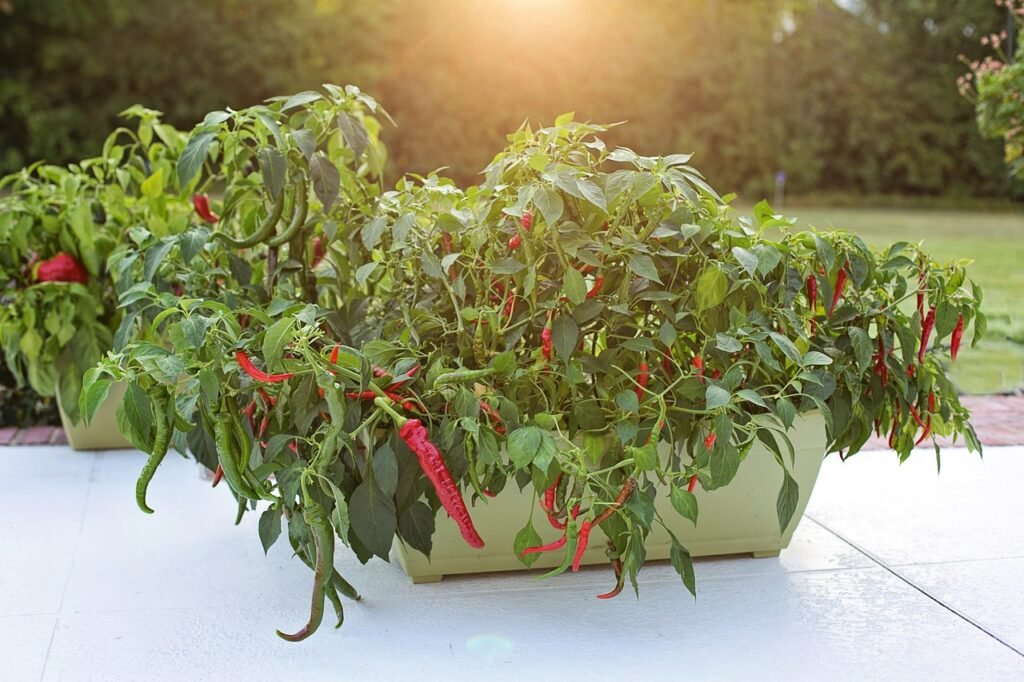
Good chilies are not always available from the market. What if you can grow chili all year round at home? From today’s article, you will know how to grow chili in a tub at home in just three steps for twelve months in the shortest possible time.
Step 1 – Select environment and tub:
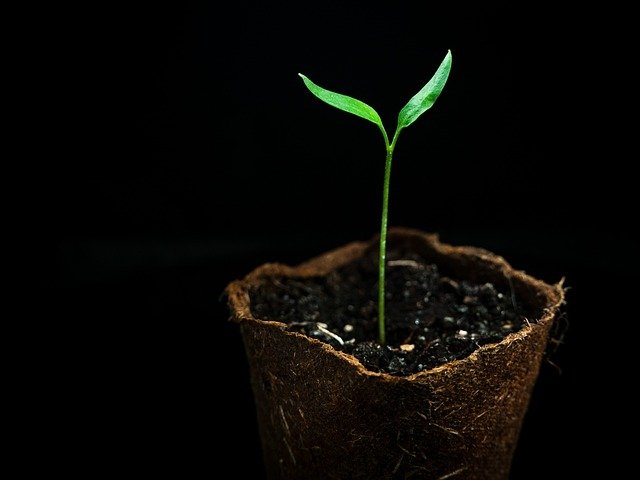
To grow chili in a tub at home, the environment and the tub should be kept in mind first. Chili is a crop that is cultivated for twelve months. But summer time is best for chili cultivation. Seeds can be sown and seedlings will grow in summer and monsoon. But the weather needs to be dry during fruit ripening.
In excess heat, the yield of chili is better but its color and texture are reduced. Again, if there is excessive rain at the time of picking flowers and fruits, then the flowers and fruits fall off. Water accumulates and the tree rots. So pepper plants cannot be planted during very hot or very rainy periods. If the temperature is between 20° to 25° Celsius, the yield will be good and the plant will not suffer any damage.
The tub should be placed in a place that will get enough sunlight. There is no problem in keeping it in a lightly shaded place. But too much shade will be bad for the plant. If the tub is kept in a place where there is enough light and air, the pepper plant will stand well.
Now let’s talk about the tub. A medium-sized clay or plastic tub is sufficient. If you want, you can also use a medium-sized pot in the kitchen. But if the tub is not of the market then make a hole under the tub with a drill machine to drain the water.
Once the tub is ready, prepare the bedding and then add the soil. Take a small piece of any broken clay pot for bedding. Place the piece over the hole in the tub with the wavy side down. Cover the broken piece first with some stone chips and then with some sand. This will prevent the soil from leaching out with the water and the tub will not accumulate water.
Step 2 – Prepare the Soil:
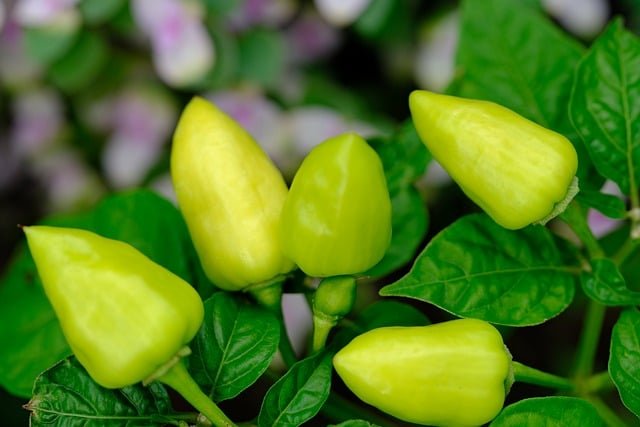
Sandy soil and loamy soil are ideal for planting chili. Mix organic manure (vegetable waste), cow dung manure, and urea manure in quantity when adding soil to the tub. Know how much to pay from someone experienced. Plant the seedlings or seeds bought from the nursery a week after preparing the soil. It will get the chance to add nutrients to the soil.
As much care is needed in preparing the soil before planting trees or seeds, more care is needed after planting. Plants will die quickly if the soil does not receive enough nutrients. So mix 1 tablespoon each of urea fertilizer, potash fertilizer, and magnesium sulfate. Pour this mixture around the soil every 15 days and water it.
Step 3 – Care for the plant:
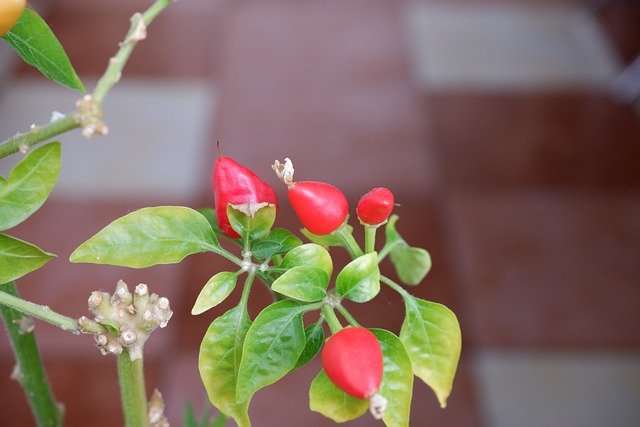
Know about soil food, but what to do to ensure the good health of plants? That too has a solution. Go to any fertilizer store and look for vitamin liquid. At the time of purchase, check whether the growth regulator is mentioned on the packet. Mix 30 drops of vitamin liquid in 1 liter of water and spray the plants every 10 days. The leaves will not curl and the flowers will not fall. The tree will also grow gradually.
Sprinkle a small amount of soap powder on the soil of the tub to prevent ants from attacking the pepper plant.
Be careful when watering plants. Water should be given in such a way that water does not accumulate in the tub and the soil does not dry out. Diseases such as leaf rot, root rot, or fruit rot can be suppressed to some extent if properly watered.
Last word:
By following these three steps, if you plant a chili plant in a tub, there will be a chance of getting 50-80 chilies from the plant in two stages. And this method also takes less time. Assuming the location and preparing the tub and soil can take 30 minutes to 1 hour maximum. After that every 10-15 days it should not take more than 10 to 15 minutes to apply the medicine to the plant.

